Before starting
We recommend that you take some time before trying to attach the adhesive, only in this way can you do a flawless job.
If you can, do the work indoors or at least attack it on a windless day, making sure you are protected from sunlight as well.
To do an optimal job, you will need:
-
Plastic Spatula or Similar Tool
The 'blade' should have a wavy side or at least it should not be sharp to avoid damaging the adhesive -
Denatured Alcohol, Degreaser for Body Shops or a Common Degreaser
If you have chosen degreasers, check if they need to be diluted to use them on painted parts -
Paper or Cloth for Cleaning
Anything is fine, as long as it doesn't shed hair and the surface is completely clean.
-
Phon
This isn't necessary if the surface is flat, but it's very useful for curved or angular surfaces to soften and shape the stickers. It also becomes indispensable if you have problems getting the adhesive to adhere to the application tape.
We Analyze the Content
Carefully open the bag or box containing the stickers.

An adhesive always consists of 3 layers:
- The base is the white (non-adhesive) sheet on which the adhesive is placed, this ensures that nothing sticks under the adhesive
- The adhesive is placed in the center of the two layers
- The top layer is the application tape or paper tape attached above the adhesive, this will allow you to pull the adhesive from the white sheet
Let's Prepare the Adhesive
First of all, start applying pressure to the top layer with a spatula or similar tool, trying to press evenly and being careful not to abruptly move the underlying adhesive.
In this phase you should notice some changes on the application tape, unless it was already well pressed before, you will notice that small spots with a clear color will form, that is the signal that the application tape has perfectly adhered to the adhesive, make sure anyway apply pressure on all the adhesive, from the center to the sides.
When you are finished, make sure that by lifting the top layer (application tape/paper tape) the adhesive remains attached above and not below, so the adhesive and the top layer must detach from the base.
If you find it difficult, you can try to press the spatula better on the application tape, going over it several times.
If that's not enough, warm it up slightly with a blow dryer, then go over the spatula again and see if it worked.
If you still don't succeed, try turning the adhesive and instead of lifting the application tape, lift the base by bending it a little at a time by 180°.
Adhesive Pre-Application Cleaning
Now it's time to clean the surface on which the sticker will be attached..
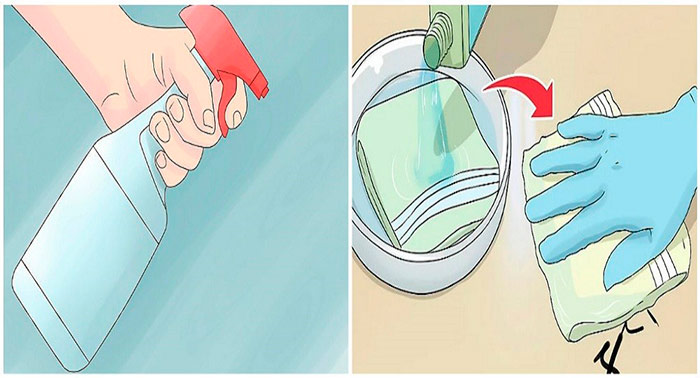
To clean the surface, we will use a degreaser and cloths to clean and dry the degreaser and dirt from the surface..
In the case of painted surfaces, it is always recommended to dilute the degreaser with water, pouring the contents into a bowl and using the latter to moisten the patches..
Attach the Sticker
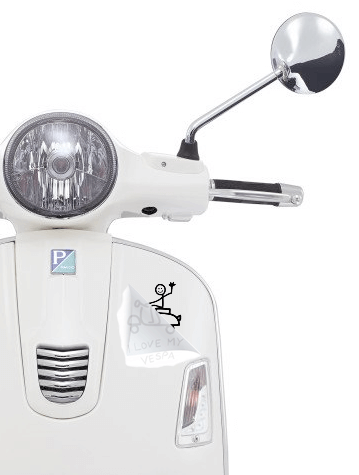
It is time to pull theapplication tape with the adhesive to apply it on the surface you want, the application tape should have one or more side grips to facilitate the application of the adhesive.
Get someone to help you align it better, especially if the sticker is large, center the sticker on the surface and place it gently and a little at a time only when when you are really sure it is positioned well, then press on the sticker with the spatula and help yourself with the hair dryer if necessary.
When you have done a good pressure on all the adhesive for a couple of times, gently pull the application tape away from the adhesive, in this regard, avoid the corners of the stickers on the contrary.